Software tools I love - Part 2
In part 1 I described starting the process of setting up a brand new machine and the initial set of software I installed to set the stage for being productive and happy. Today we will continue the process.
So far we have installed:
- A fun and productive modern Operating System (Windows 10 Insider Build).
- A compelling and beautiful modern command-line terminal and accompanying font.
- A powerful and extensible programming editor, in Visual Studio Code
Now we need a few more key items to get us on the road to being able to do actual work:
Git
![]() You are very likely familiar with the Git source control system. It has come to dominate the source-control landscape since its creation in 2005 (by Linus Torvalds, of Linux fame) and is wildly popular for a reason.
You are very likely familiar with the Git source control system. It has come to dominate the source-control landscape since its creation in 2005 (by Linus Torvalds, of Linux fame) and is wildly popular for a reason.
Not only is it one of the primary technical underpinnings of the world’s most popular open-source collaboration site, Github, it solves many traditional headaches of source-control systems, such as providing a seamless offline branch / edit / commit workflow that does not require access to a remote server. Git is entirely de-centralized, making it a powerful tool that is enjoyable to work with.
So, I love Git and have been very happy with it ever since we migrated to it a few years back. It took me one weekend and a copy of the excellent Git in Practice to get all of the basics down. (I’m not an expert in Git, but I’m productive.)
Git has a stand-alone installer for Windows that presents a traditional wizard-style setup program. We will simply run that to get Git installed on our new computer.
Build Tools for Visual Studio 2019
![]()
Installing software by building it yourself
While pre-packaged official binary releases of software are not going away, there is something very satisfying about building and installing software yourself from the original source code.
In order to do that, however, we are going to need some build tools. These include compilers, linkers, standard header files, etc. Having these installed and working will allow us to acquire some of our other favorite tools by building them ourselves.
Getting the build tools.
We are going to install the Visual Studio Build Tools 2019 package from the Visual Studio downloads page.
Note that this is not installing the full Visual Studio Integrated Development Environment (IDE), but rather just the build tools. With these installed we should be able to compile a variety of projects, both for .NET programs (such as C#) and native code programs (such as C++) from the command-line. These are free and available to anyone doing development on Windows.
There are quite a few options in the installer; I chose to install pretty much everything for maximum flexibility and because disk space is not a concern.
Configuring Windows Terminal profiles for different build types
Having installed the Visual Studio Build Tools 2019 we will find a couple of different shortcuts on our Start Menu. Launching these will set some necessary environment variables (such as paths to include folders, the build executables, etc) needed to do a command-line build.
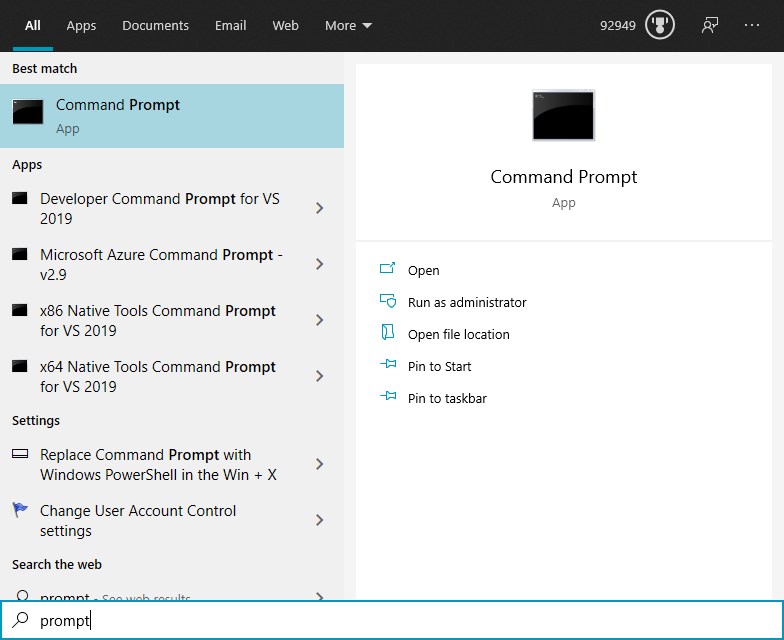
The ‘Developer Command Prompt for VS 2019’ shortcut opens up an environment suitable for .NET managed-code development in C#, F#, etc.
The ‘x64 Native Tools Command Prompt for VS 2019’ shortcut is for native code (C++, for example) development targeting 64-bit platforms.
Those are the two I will make use of most often.
We don’t want to use the old, creaky conhost terminal environment for our development shortcuts, however! We want to use the awesome Windows Terminal we installed previously. As of the time of this post there is no way to make Windows Terminal the default console host, so we will want to add explicit profiles to our Windows Terminal configuration to support launching command-line environments suitable for managed code and native code development.
First, let’s create a small wrapper script to invoke the target of the existing shortcut and change to any directory passed in as an argument. Inspecting the properties of the shortcut that the build tools installed for the managed code developer prompt, we find the appropriate script to invoke in our wrapper. Therefore we create a script called devprompt.cmd and add the following content:
@echo off
call "%ProgramFiles(x86)%\Microsoft Visual Studio\2019\BuildTools\Common7\Tools\VsDevCmd.bat"
cd /d "%1"
PowerShell
Doing the same thing for the native tools prompt, we create this devprompt_native.cmd wrapper:
@echo off
call "%ProgramFiles(x86)%\Microsoft Visual Studio\2019\BuildTools\VC\Auxiliary\Build\vcvars64.bat"
cd /d "%1"
PowerShell
I create these two scripts in a folder called ‘tools’ under my home folder ‘~’, which on Windows for me is c:\users\mtreit.
In Windows Terminal we press ctrl+, (control plus the comma character) to bring up the settings editor, then we can enter something like this to add our new profiles:
{
    "guid": "{f3ddb016-d909-442c-9798-d8b093530381}",
    "name": ".NET Developer Prompt",
    "commandline" : "cmd.exe /k \"c:\\users\\mtreit\\tools\\devprompt.cmd c:\\src\\git\"",
    "fontFace": "Cascadia Code PL",
    "colorScheme" : "Solarized Light"
},
{
    "guid": "{1d60af8b-42bf-4f79-89b1-2745220342b3}",
    "name": "Native Developer Prompt",
    "commandline" : "cmd.exe /k \"c:\\users\\mtreit\\tools\\devprompt_native.cmd c:\\src\\git\"",
    "fontFace": "Cascadia Code PL",
    "colorScheme" : "Solarized Dark"
}
Note: If you copy / paste from an existing entry, make sure you use a different entry for guid than any other entries in your terminal settings. You can simply run [guid]::NewGuid() in PowerShell to get a fresh Guid.
That was a bit of work to get things set up, but now we should have everything we need to build both managed and native code projects.
Verifying we can build native code
Let’s verify the VS 2019 build tools will work for a trivial program written in C.
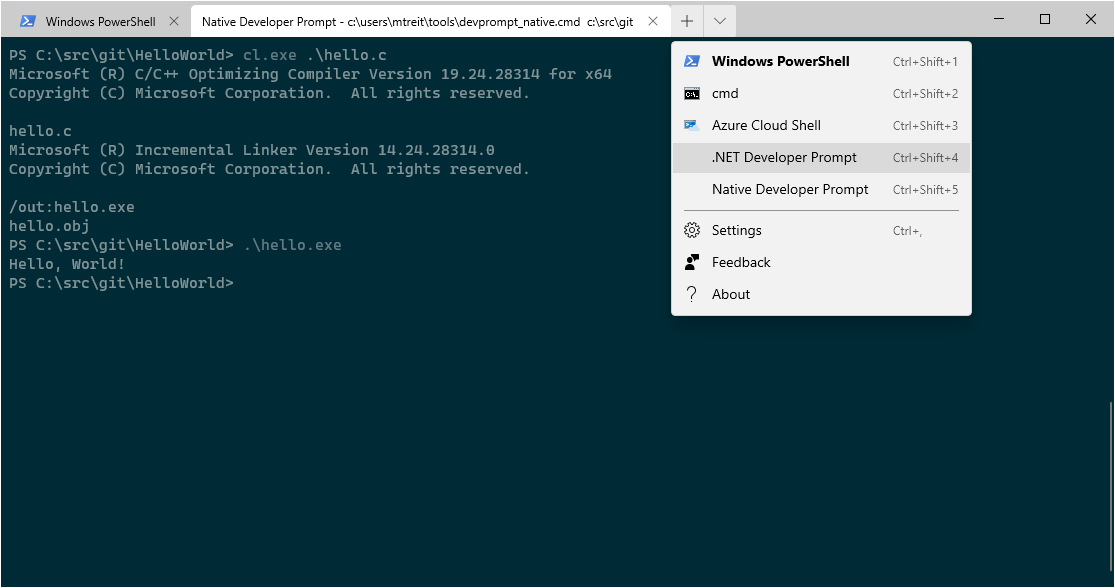
We open our ‘native’ developer prompt in Windows Terminal:

Let’s make a folder and create a simple C program.
mkdir Hello
cd Hello
code .\hello.c
In our VS Code editor we enter a simple test program:
#include <stdio.h>

int main() {
    printf("Hello, World!");
    return 0;
}
After saving hello.c and returning to our native developer prompt, we should be able to invoke the Microsoft C/C++ compiler cl.exe.
cl.exe .\hello.cIf everything is working properly, we should see the following output:
PS C:\src\git\HelloWorld> cl.exe .\hello.c
Microsoft (R) C/C++ Optimizing Compiler Version 19.24.28314 for x64
Copyright (C) Microsoft Corporation.  All rights reserved.

hello.c
Microsoft (R) Incremental Linker Version 14.24.28314.0
Copyright (C) Microsoft Corporation.  All rights reserved.

/out:hello.exe
hello.obj
Finally, we should be able to run our program and it should work!
PS C:\src\git\HelloWorld> .\hello.exe
Hello, World!
Great! We have now installed everything we need on our new computer to start developing native code applications.
Verifying we can build managed code.
The build tools we installed should include the .NET Core SDK and everything we need to build managed code applications, so let’s build a trivial C# application and make sure that works as well.
This time we select the profile we created for managed code:
cd ..
dotnet new console --name HelloDotNet
We should see the following:
The template "Console Application" was created successfully.

Processing post-creation actions...
Running 'dotnet restore' on HelloDotNet\HelloDotNet.csproj...
  Restore completed in 118.45 ms for C:\src\git\HelloDotNet\HelloDotNet.csproj.

Restore succeeded.
The dotnet new command has created a console C# project for us, including the project file (HelloDotNet.csproj) and the main source code file (Program.cs). If we execute dotnet run we can verify that it compiles and runs as expected.
PS C:\src\git\HelloDotNet> dotnet run
Hello World!
PS C:\src\git\HelloDotNet>
Conclusion
We installed Git, opening up the ability to start checking our own code into source control, as well as cloning existing repositories we want to work with.
To ensure we can actually compile managed and native code, we installed the latest build tools from Microsoft. To make using those tools convenient from our command-line environment (PowerShell in Windows Terminal), we created a couple of wrapper scripts and configured those to be invoked from the profiles menu of the terminal.
Finally, we created a trivial command-line executable in both C and C# to verify we can compile native and managed code without any issues.
These necessary steps have opened up the doors to installing and building other tools we will find indispensible as we continue to get our new development machine ready for all manner of fun and interesting programming activities.