Software tools I love - Part 4
This is part 4 in my series where I document my process for going from a brand new computer to one that has the basic set of tools I want present to feel productive.
For previous installements, see:
So far we have:
- Installed The latest Windows 10 Insider Build.
- Installed Windows Terminal.
- Installed the Cascadia Code font.
- Installed Visual Studio Code.
- Installed Git.
- Installed the Visual Studio Build Tools 2019.
- Configured Windows Terminal to have profiles for building both native and managed code.
- Verified we can build simple C and C# programs from the terminal.
- Installed PowerShell Core on Windows.
- Installed the PSColors PowerShell module
- Started building a set of helper functions in our PowerShell $profile
- Installed the Windows Subsystem for Linux (WSL)
- Installed and updated Ubuntu 18.04 on WSL.
- Installed the .NET Core SDK on our WSL environment.
- Installed PowerShell Core on WSL.
Installing the Rust toolchain on Windows
![]()
The Rust programming language is fascinating. I’ve heard about it for a few years but really had no idea what it was all about. Then I happened across the highly entertaining video Is It Time to Rewrite the Operating System in Rust? and my curiosity was strongly piqued. A language that provides both memory-safety and native-code levels of performance? With modern language features like exhaustive pattern matching and iterators? This sounds like the kind of programming language I’ve dreamed about.
In fairness I have yet to do any real programming in Rust, but it’s high on my to-do list. As part of researching the language, however, I came across a few extremely neat tools that happened to be written in Rust.
So even if we aren’t going to be doing a lot of Rust coding imminently, installing tools written in Rust gives us a great excuse to get a Rust programming environment bootstrapped onto the new computer we are setting up.
We use a tool called rustup to get Rust installed. On Windows this is done by downloading and executing the rustup-int.exe program. This takes a few minutes to install, but once finished we should be ready to build our own Rust programs.
Creating a Rust terminal profile
I like to have my different programming environments have their own Windows Terminal profile, so let’s create one for when we are doing Rust programming.
I am going to make use of the devprompt_native.cmd wrapper that we created in a previous post to add the necessary paths to the C compilers and other native code development tools we installed. This will give the flexibility to build C/C++ programs as well as Rust programs from the same terminal window, if necessary.
Here is the profile I added:
{
    "guid": "{186f6a99-0cc4-4db4-9d49-47c862b718a3}",
    "name": "Rust",
    "colorScheme" : "Campbell",
    "commandline" : "cmd.exe /k \"c:\\users\\mtreit\\tools\\devprompt_native.cmd c:\\src\\git\"",
    "cursorColor" : "#71F6ED",
    "cursorShape" : "emptyBox",
    "fontFace": "Cascadia Code PL",
    "backgroundImage" : "C:/Users/mtreit/Pictures/rustacean.png",
    "backgroundImageOpacity" : 0.15,
    "backgroundImageStretchMode" : "uniformToFill",
    "icon":"c:/users/mtreit/Pictures/cuddlyferris-300x224.png",
    "hidden": false
}
Now we have a profile we can launch from Windows Terminal:
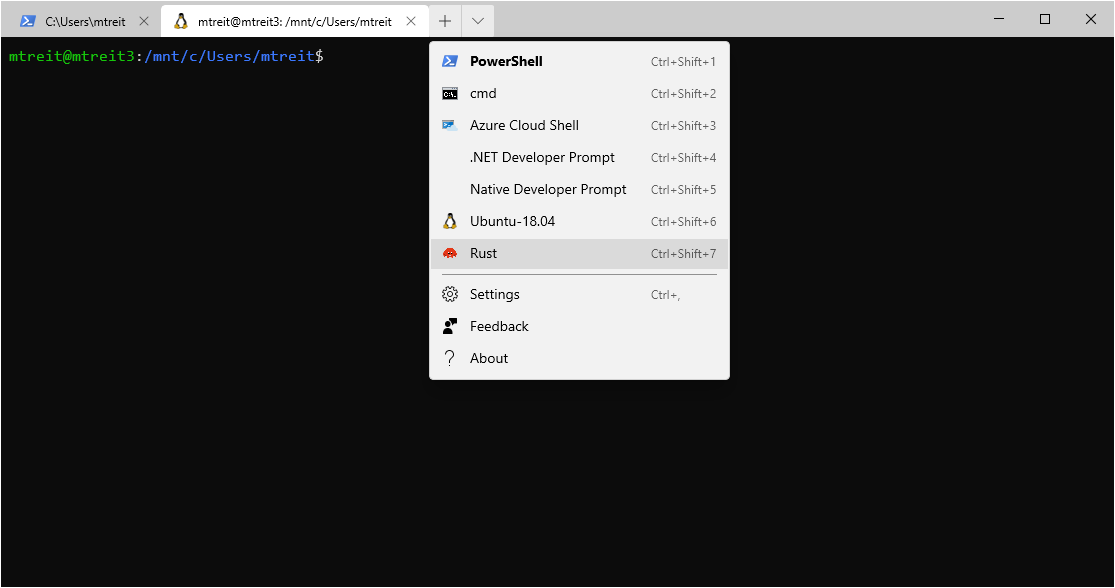
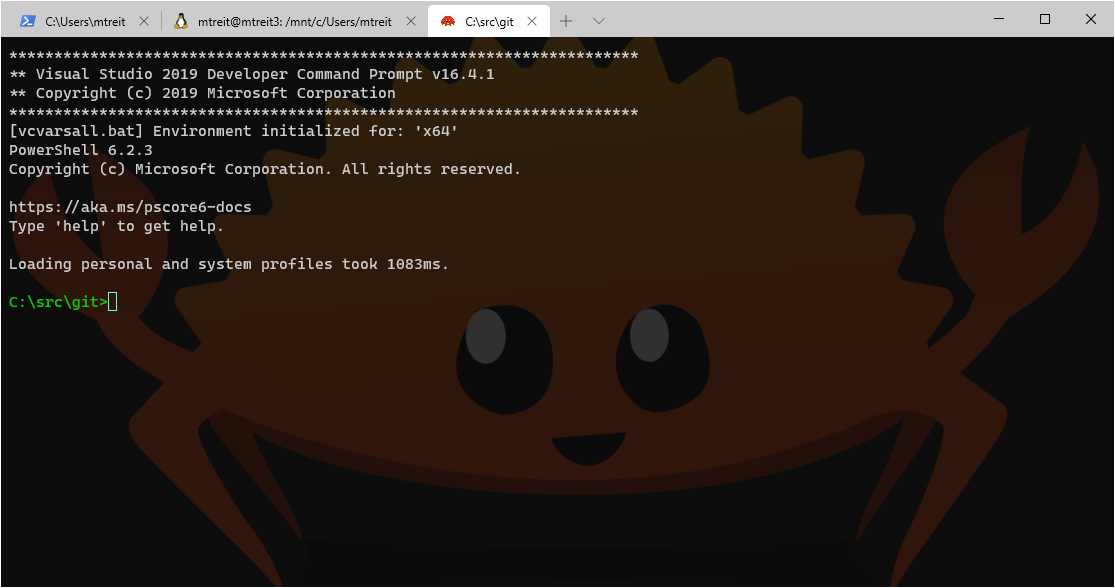
It looks like this when running:
Let’s verify we can build a Rust program! Rust uses a package manager called Cargo, which is installed as part of the Rust toolchain. In general, we use Cargo to build Rust projects, rather than invoking the Rust compiler (rustc) directly.
We can use Cargo to initialize a new project and build it for us, so let’s do that and ensure everything is working properly:
C:\src\git>cargo new hello_rust
     Created binary (application) `hello_rust` package

C:\src\git>cd .\hello_rust\

C:\src\git\hello_rust>cat .\src\main.rs
fn main() {
    println!("Hello, world!");
}

C:\src\git\hello_rust>cargo run
   Compiling hello_rust v0.1.0 (C:\src\git\hello_rust)
    Finished dev [unoptimized + debuginfo] target(s) in 0.55s
     Running `target\debug\hello_rust.exe`
Hello, world!
Perfect! We can now build Rust programs, as well as use Cargo to install existing Rust programs that are part of the Rust ecosystem.
Installing the Rust toolchain on Ubuntu / WSL
We’ve installed our Rust programming environment on Windows; now let’s do the same in our Linux (WSL) install on the same machine.
Here we can run the following to get the Rust toolchain bootstrapped:
curl --proto '=https' --tlsv1.2 -sSf https://sh.rustup.rs | shAgain, this will take a few minutes to install, after which we can run the same cargo commands in our Bash prompt to verify everything is working as expected.
mtreit@mtreit3:/mnt/c/Users/mtreit$ cd /mnt/c/src/git
mtreit@mtreit3:/mnt/c/src/git$ cargo new hello_rust_wsl
     Created binary (application) `hello_rust_wsl` package
mtreit@mtreit3:/mnt/c/src/git$ cd hello_rust
hello_rust/     hello_rust_wsl/
mtreit@mtreit3:/mnt/c/src/git$ cd hello_rust
hello_rust/     hello_rust_wsl/
mtreit@mtreit3:/mnt/c/src/git$ cd hello_rust_wsl/
mtreit@mtreit3:/mnt/c/src/git/hello_rust_wsl$ ls
Cargo.toml  src
mtreit@mtreit3:/mnt/c/src/git/hello_rust_wsl$ cargo run
   Compiling hello_rust_wsl v0.1.0 (/mnt/c/src/git/hello_rust_wsl)
error: linker `cc` not found
  |
  = note: No such file or directory (os error 2)

error: aborting due to previous error

error: could not compile `hello_rust_wsl`.
Oh no! It didn’t work.
However, the error message is pretty clear: we are missing some necessary build tools, such as the expected linker.
We installed (in a previous installment of this series) the Microsoft build tools on Windows, but we did not install the Linux equivalents when we set up our WSL environment. Luckily, this is an easy fix. We just need to install the core gcc tools, which we can do as follows:
sudo apt install build-essentialAfter the install completes, we can try again:
mtreit@mtreit3:/mnt/c/src/git/hello_rust_wsl$ cargo run
   Compiling hello_rust_wsl v0.1.0 (/mnt/c/src/git/hello_rust_wsl)
    Finished dev [unoptimized + debuginfo] target(s) in 0.60s
     Running `target/debug/hello_rust_wsl`
Hello, world!
Great, we now have the Rust toolchain working on both Windows and WSL.
The joy of ripgrep
I don’t know about you, but I spend a lot of time on the command-line searching for text in files on disk, typically source code files. For more than a decade I always used the rudimentary findstr command that comes with Windows. It did the job, but it was not particularly fast and has a very minimal feature set.
Then I discovered ripgrep. This tools often shows up at the top of lists of “what’s your favorite program written in Rust?” when Rust developers are polled. That’s how I discovered it.
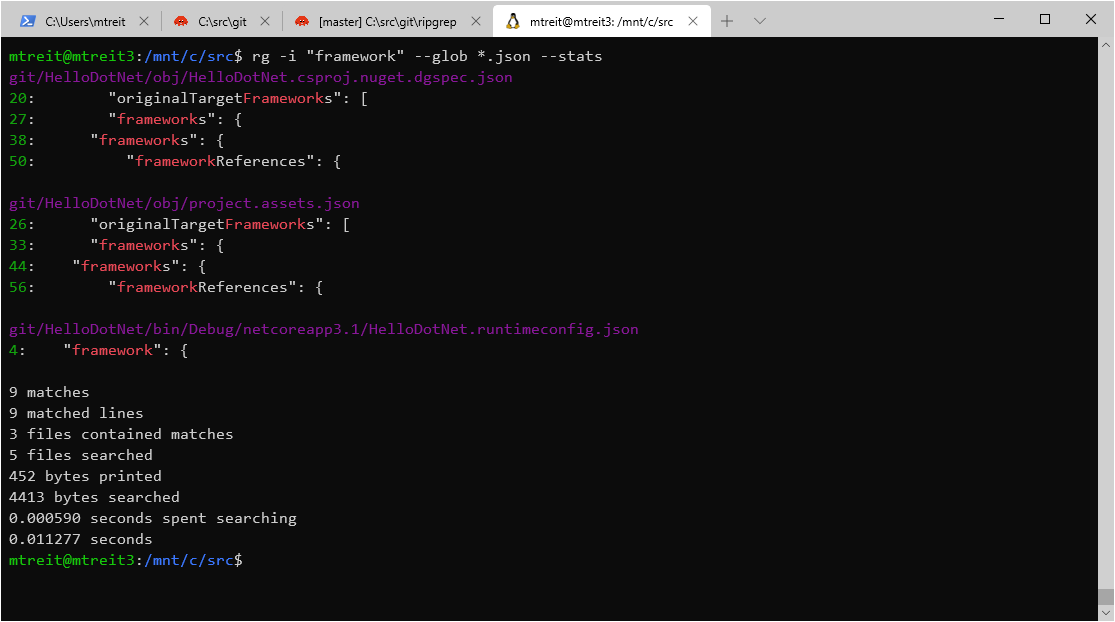
It’s extremely fast, has many useful options and has really nice output formatting. I absolutely love it. I probably run rg -i something in my source tree dozens of times a day. This is one of my must-have tools that I can no longer live without!
Building it from source
Let’s download the source for ripgrep and build it ourselves using the tools we have already installed.
git clone https://github.com/BurntSushi/ripgrep
cd ripgrep
cargo install --path .
By running cargo install we will both compile the program and install it so it will be available to run from any future terminal windows we open. This is done by installing the tool under ~.cargo\bin, which is in the %path% environment variable.
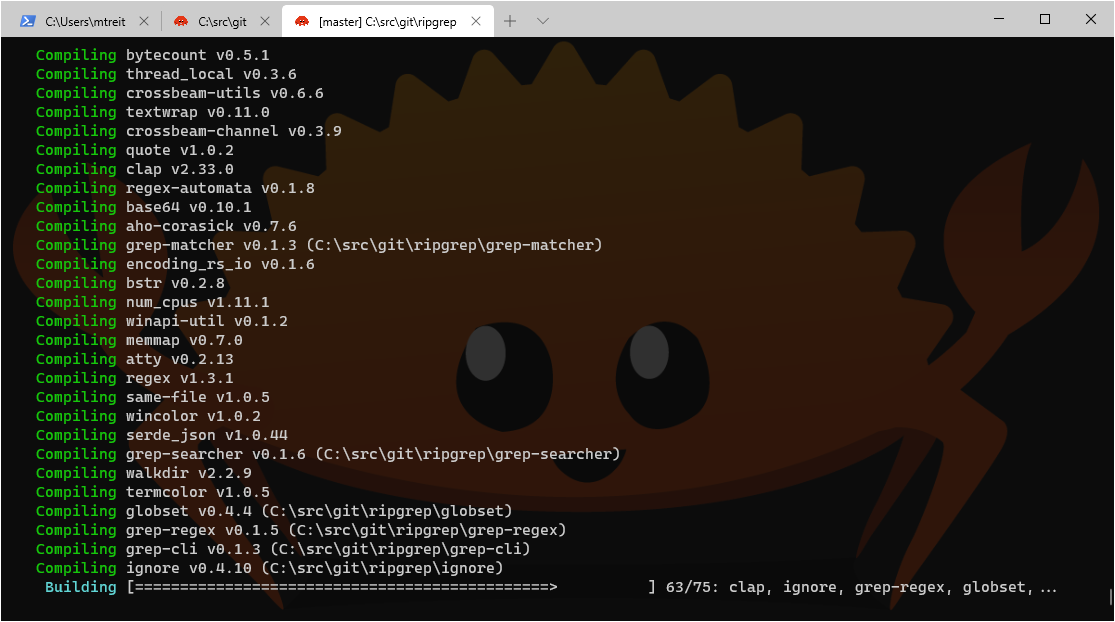
After the build finishes, we can try it out:
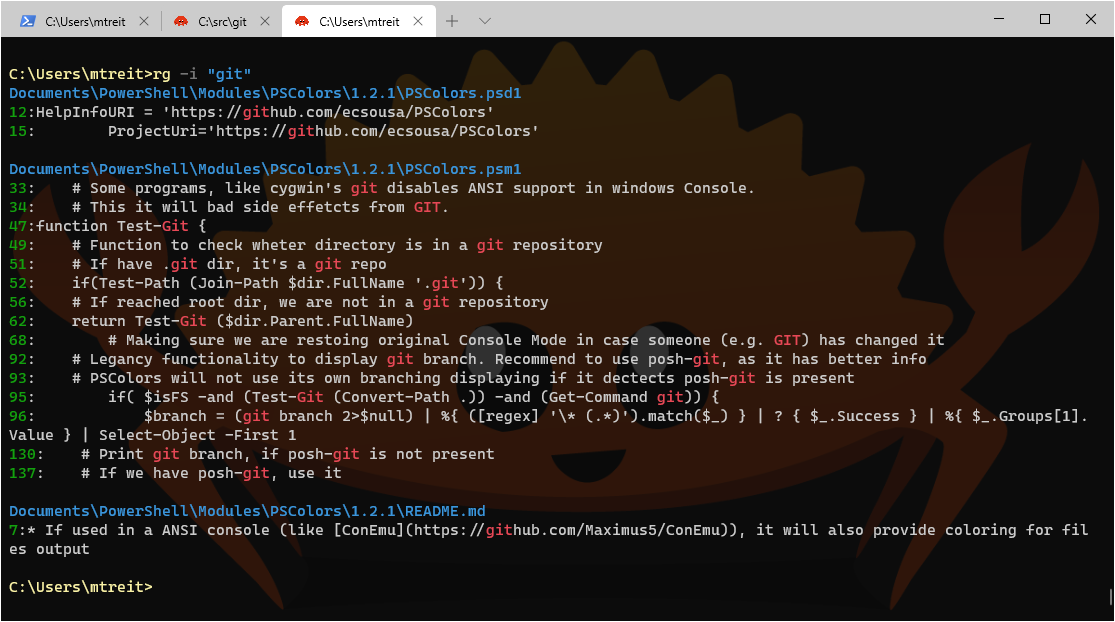
Success! We have cloned and built the ripgrep tool from source and installed it so that we can now search files rapidly from any of our terminal session on Windows.
Installing it with Cargo in WSL
Of course we want ripgrep available in our WSL environment as well; while we could once again build it from source, let’s show another way of acquiring programs from the Rust ecosystem using Cargo.
cargo install can be used to build and install programs from crates.io, the Rust package repository. If we don’t want to create our own clone of the source code, this is one of the simplest ways to get the tools we want installed.
From our bash prompt in Ubuntu running on WSL we can simply run:
cargo install ripgrep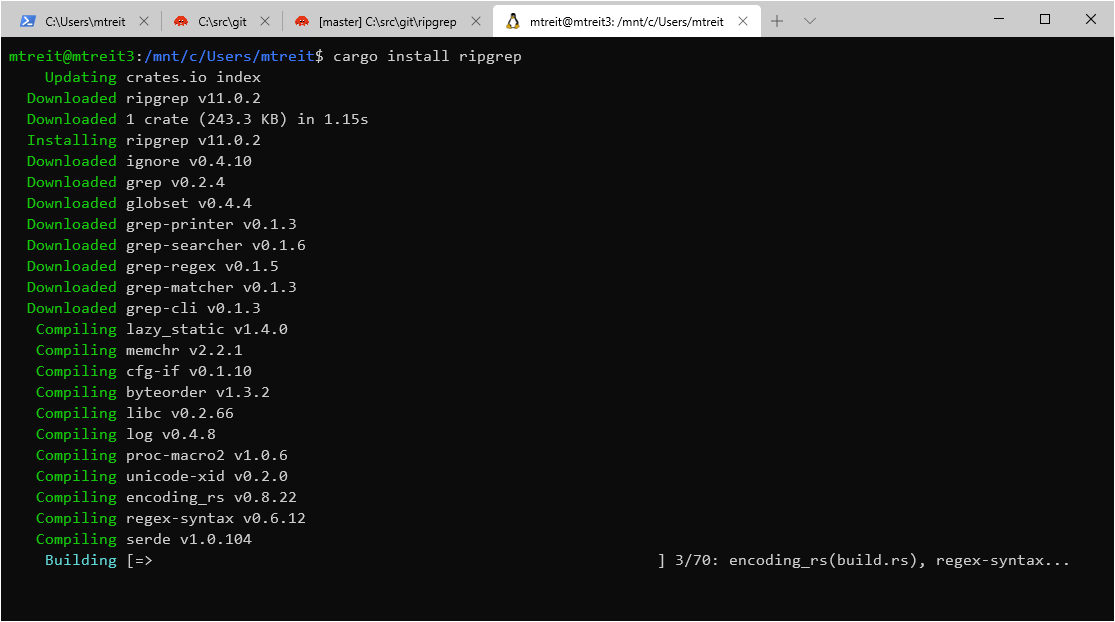
Once again, once the build finishes we have ripgrep installed, this time in our WSL environment. If we open a new bash shell we can try it out:
Fastmod
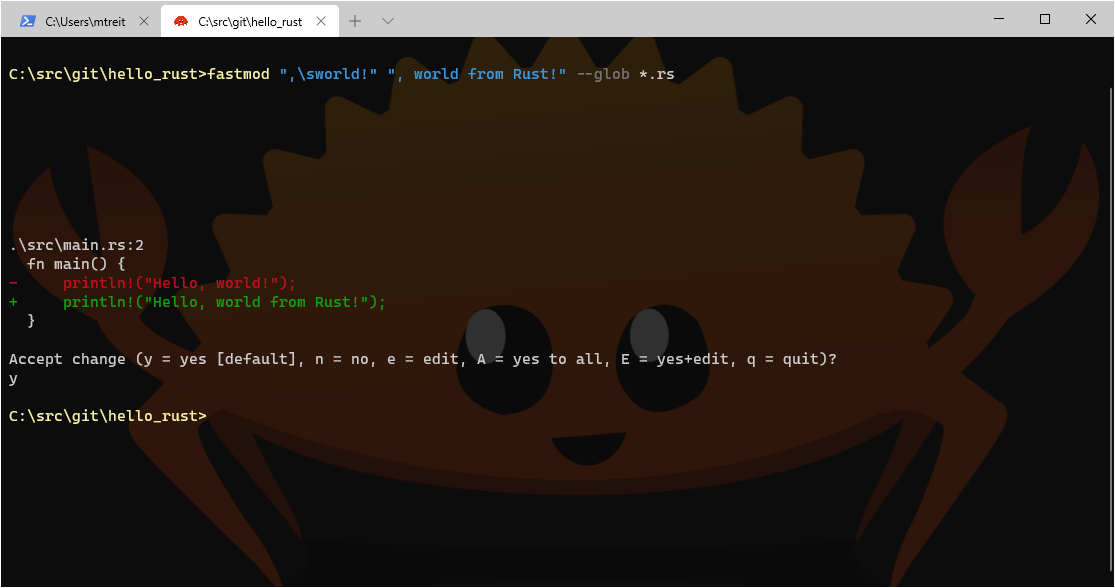
Another useful tool, similar to ripgrep and also written in Rust, is fastmod, from Facebook. I use this tool all the time to do code refactorings from the command line. It has a nice feature that it will preview changes to make sure your regex matched correctly.
No mystery for how to get it installed:
cargo install fastmodHere is an example of it in action:
Starship
We have one more tool, yet again written in Rust, that we are going to install. This one is used to give us a really nice terminal prompt.
Customizing your terminal prompt is something of an obsessive hobby among command-line aficionados. Just search for ‘bash prompt customization’ on YouTube and you will find an endless stream of videos demonstrating different customizations.
My own current preference is to use a tool called Starship.
Installing Starship on Windows using Cargo
cargo install starshipIf you’re impatient there are faster ways to get these tools installed than building them from source with Cargo; Rust, for all of it’s strengths, is not known for fast compilation times. That said, I like building from source because it often finds libraries and packages I may need to install that will be useful when building other projects where I may want to be modifying the source code. It’s also just kind of fun to know you can build from source and go make changes to the programs if you find a need to.
Installing Starship on Ubuntu / WSL using Cargo
If you try to build Starship from source in the WSL environment we have configured on our new machine so far, it will fail, as there are a few missing dependencies that need to be installed first. However, installing them is straight-forward, so the following should be sufficient to get a really nice looking terminal prompt in bash on WSL:
sudo apt install pkg-config
sudo apt install libssl-dev
cargo install starship
Once installed, we will want to add the following to our PowerShell $profile script:
Invoke-Expression (&starship init powershell)This will start the Starship prompt when we launch PowerShell.
For Bash, we need to add this to our .bashrc file:
eval "$(~/.cargo/bin/starship init bash)"Configuring Starship
There are a lot of configuration options for Starship, which are documented here. Customizations go into the file starship.toml under the ~/.config folder.
I edit the starship.toml file to look like this:
[character]
symbol = "✓"
error_symbol = "✗"
use_symbol_for_status = true

[git_status]
disabled = true

[time]
disabled = false
format = "[%T]"
I disable git status information because the codebase I work in is too large: git status is sufficiently slow that it causes a noticeable delay when the prompt re-draws. If your codebase is small enough, you may want to leave the git_status option enabled.
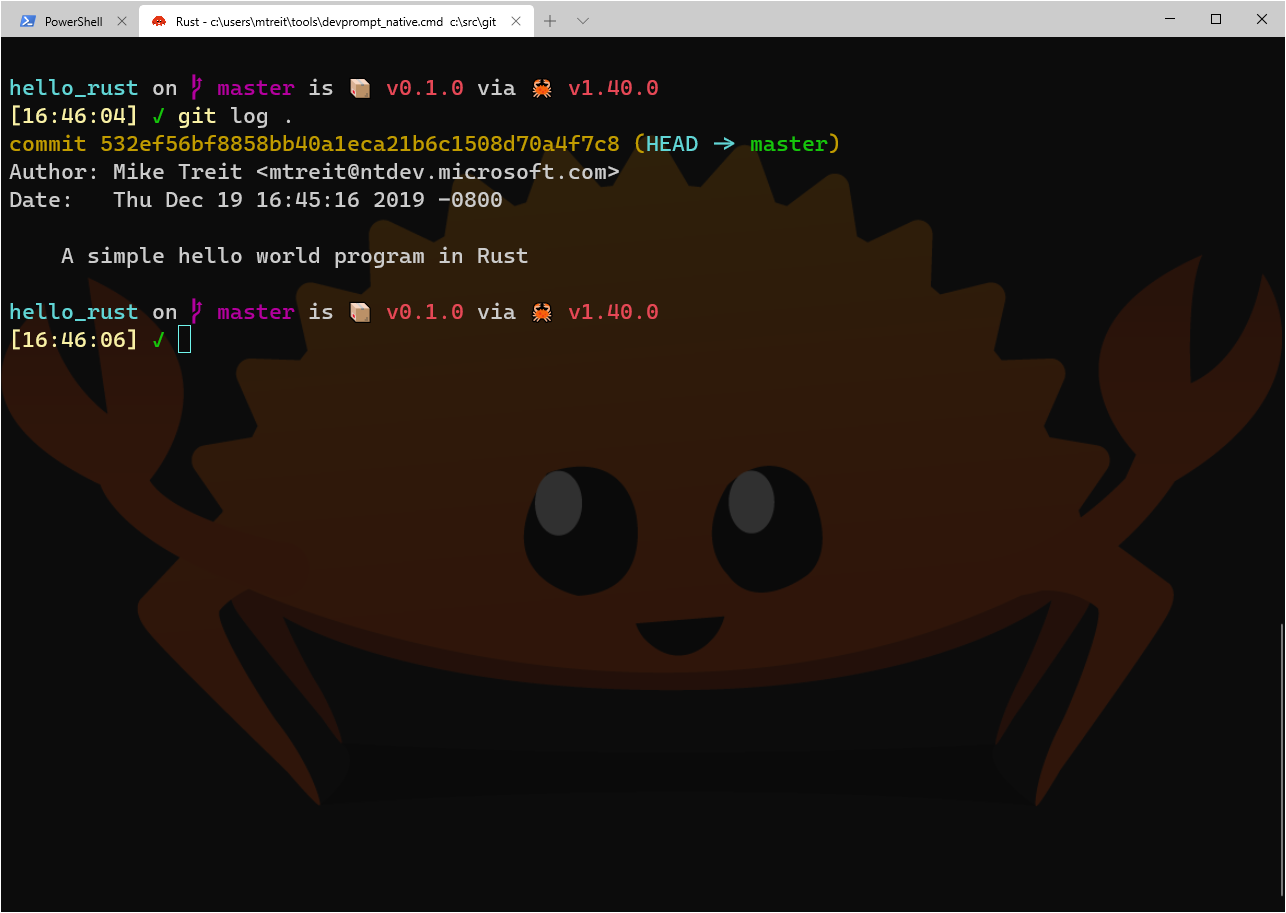
The end result is a prompt that looks like this:
Conclusion
We’re getting really close to having our new computer running the tools I use every day for my programming work. We’re not finished yet, however. In an upcoming post we will continue our journey and get a few more ‘must-have’ pieces of software installed and configured.